Copy of Article Text Below
PM Superservice Series....30
When Ford designed the Fiesta, they decided that despite the transverse engine and front-wheel drive layout, they would somehow make it easy to service - even on a do-it-yourself basis.
What's more, to prove it, they brought one of the first cars out of Dagenham to the Practical Motorist workshop so we could put it through our Superservice routine.
If you are a Ford dealer, you'll almost enjoy servicing the Fiesta: for instance there is no need to take the wheels off to check such things as disc pads - there's a special depth gauge for this job - and rear linings can be examined through a peep-hole in the backplate.
If you don't happen to be a Ford dealer with a depth-gauge, you will need to take off the front wheels to check the pad thickness. On 'our1 car it took 98 half-turns of the jack handle to get the front wheel clear of the ground. But that's not all. Fiesta wheels are bolted on, and to refit them you need to hold the wheel hard against the hub to centre it and then rotate it to align the bolt-holes. Things would be easier if they fitted a peg to automatically align the holes, like Fiat do.
But it isn't all bad. In fact we reckon the Fiesta is the easiest front-wheel drive car to service of them all. Follow the picture guide for the details.
As usual we've marked each job according to its degree of difficulty: a star means it's easy, one to five exclamation marks indicate the degree of difficulty.
TOOLS AND MATERIALS
Materials: Engine oil (5 litres) £3.25; gearbox/final drive top-up (1 pint) 45p. Also four AGRF 22 spark plugs; air filter element, oil filter; contact-breaker points.*
Tools: 1xllmm spanner, 2x13mm spanners, 1x22mm socket and ratchet handle, 1x5/8in. AF box spanner, feeler gauges, strap wrench, funnel, cross-head and flat-blade screwdrivers, pliers, drive-up ramps.
*Prices of filters, plugs and points were not fixed at time of going to press.
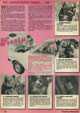
1. UNDER BONNET LAYOUT *
The bonnet hinges at the front which makes the angled radiator cap a bit fiddly to undo, but otherwise the oil filler (arrowed) brake fluid, battery and dipstick (hidden on the other side of the engine) are easy to check.
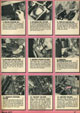
5. TOP-UP GEARBOX *
The 22mm filler level plug is this one - on cars without reversing lights there's another identical plug where our switch is - if you use this to top-up, the level will be too high. The plug below (arrowed) isn't a drain plug - it houses detent springs and shouldn't be touched.
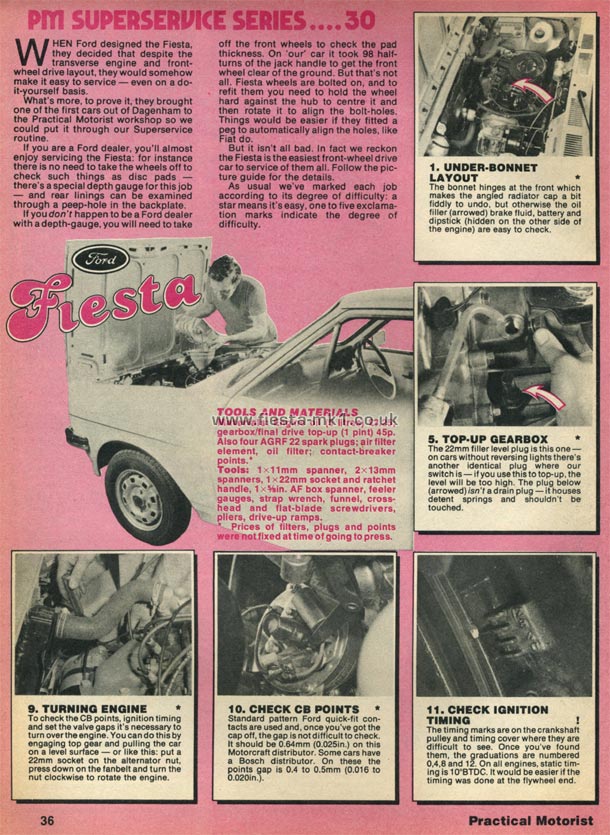
9. TURNING ENGINE *
To check the CB points, ignition timing and set the valve gaps it's necessary to turn over the engine. You can do this by engaging top gear and pulling the car on a level surface - or like this: put a 22mm socket on the alternator nut, press down on the fanbelt and turn the nut clockwise to rotate the engine.
10. CHECK CB POINTS *
Standard pattern Ford quick-fit contacts are used and, once you've got the cap off, the gap is not difficult to check. It should be 0.64mm (0.025in) on this Motorcraft distributor. Some cars have a Bosch distributor. On these the points gap is 0.4 to 0.5mm (0.016 to 0.020in.).
11. CHECK IGNITION TIMING !
The timing marks are on the crankshaft pulley and timing cover where they are difficult to see. Once you've found them, the graduations are numbered 0,4,8 and 12. On all engines, static timing is 10ºBTDC. It would be easier if the timing was done at the flywheel end.
|